This is also called the semi digital workflow. In the first appointment you insert the mini-implants and take an impression. In the second appointment you insert the appliance.
1. Digital insertion planning
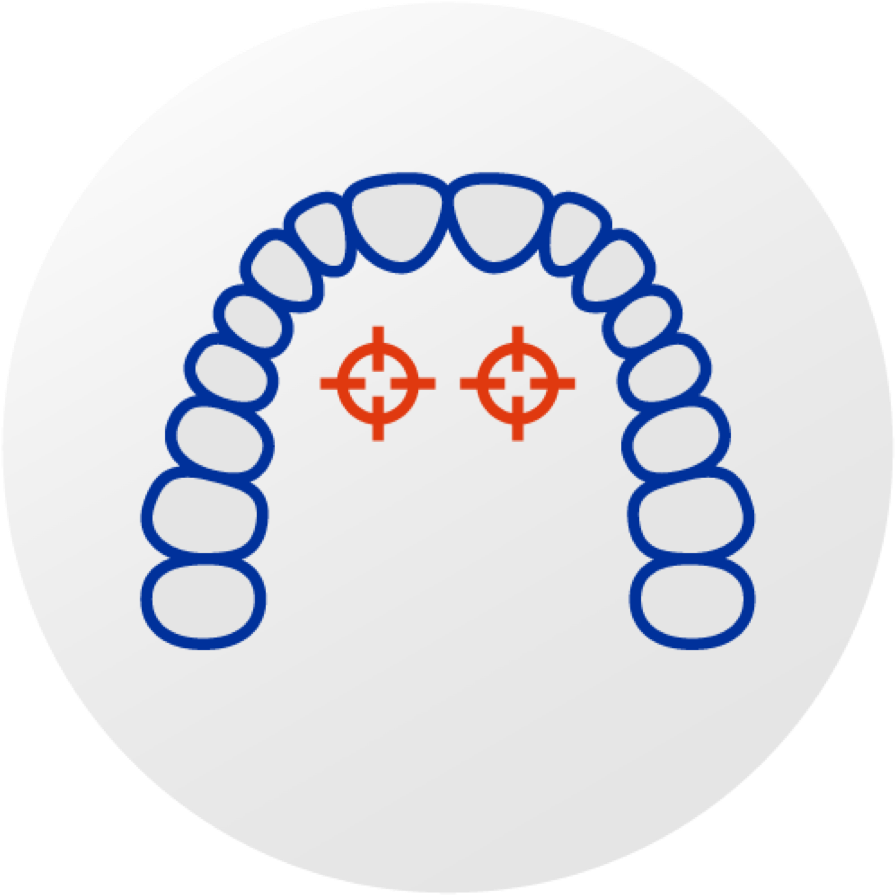
Based on your records we plan the ideal position for your BENEfit Mini-implants. It’s up to you whether you prefer implant placement based on the model, a ceph, or CBCT. We accept .stl files from any scanner.
2. Guided mini-implant insertion
In the first appointment with your patient you insert the mini-implant safely in the planned position. Using the TADMAN insertion guide the procedure will be a lot more precise and relaxed procedure.
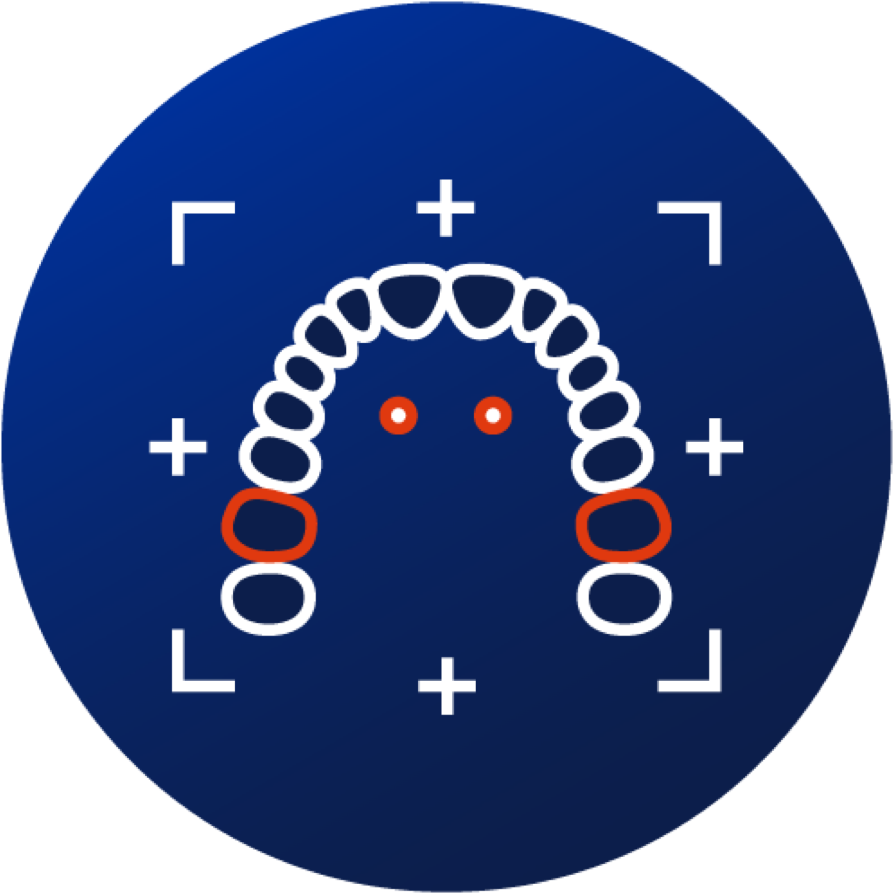
3. Scan of the mini-implants
Send an .stl file of the introral situation after you inserted the mini-implants. Make sure that the heads of the mini-implants are clearly visible in the scan.
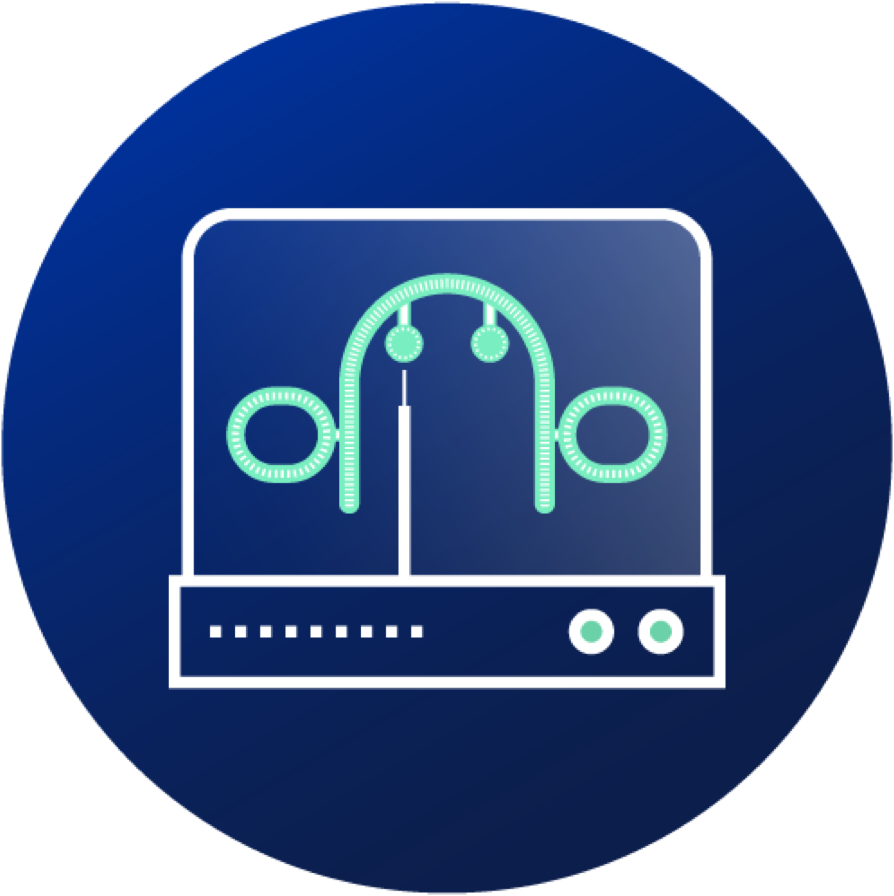
4. Digital appliance design
Based on your preferences we will design a custom made 3D-printed appliance for your patient. For this purpose we use top notch 3D-design software.
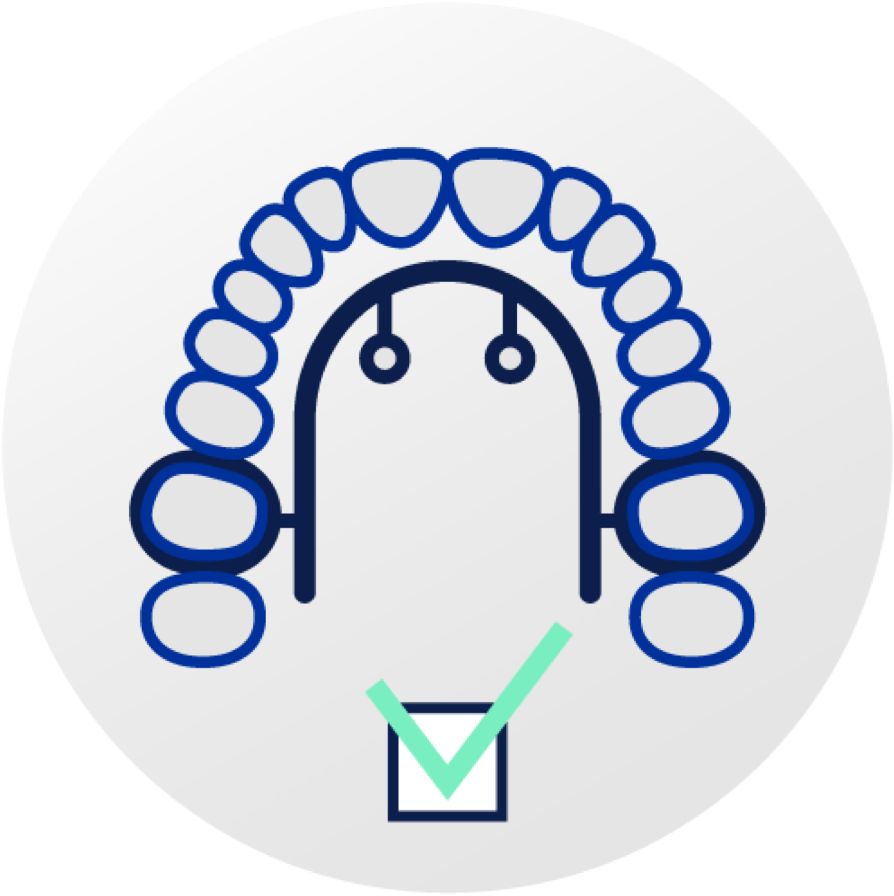
5. Appliance design check
Before we start production of the insertion guide and the appliance you will receive a preview of the implant position and the appliance design. If you want changes, we will be happy to modify the design according to your preferences.
After the design has been finalized, your appliance is printed using a high-end 3D-laser printer.
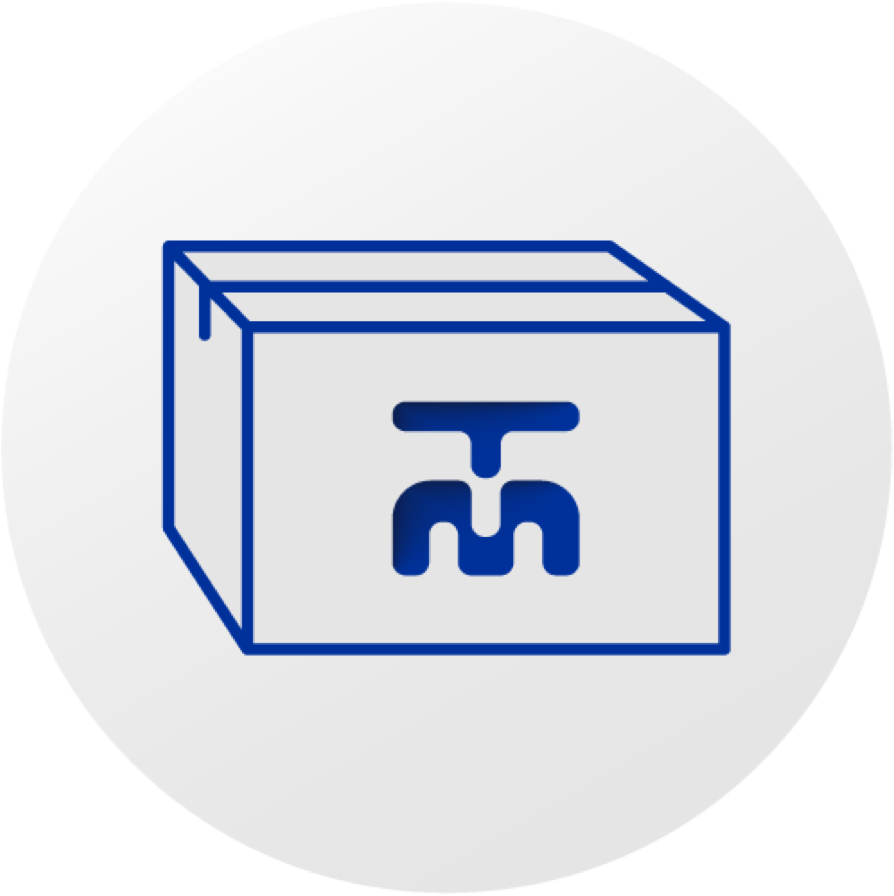
6. TADMAN box
Receive your TADMAN box with everything you need. Including your appliance and a printed model.
7. Appliance insertion
In the second appointment with your patient you now insert the appliance. You will appreciate the perfect fit.