Mini-implant and appliance insertion in just one appointment. This is the preferred and most efficient workflow. Send your digital scan data or the silicone impression and we will design your appliance according to your specifications incuding the TADMAN insertion guide.
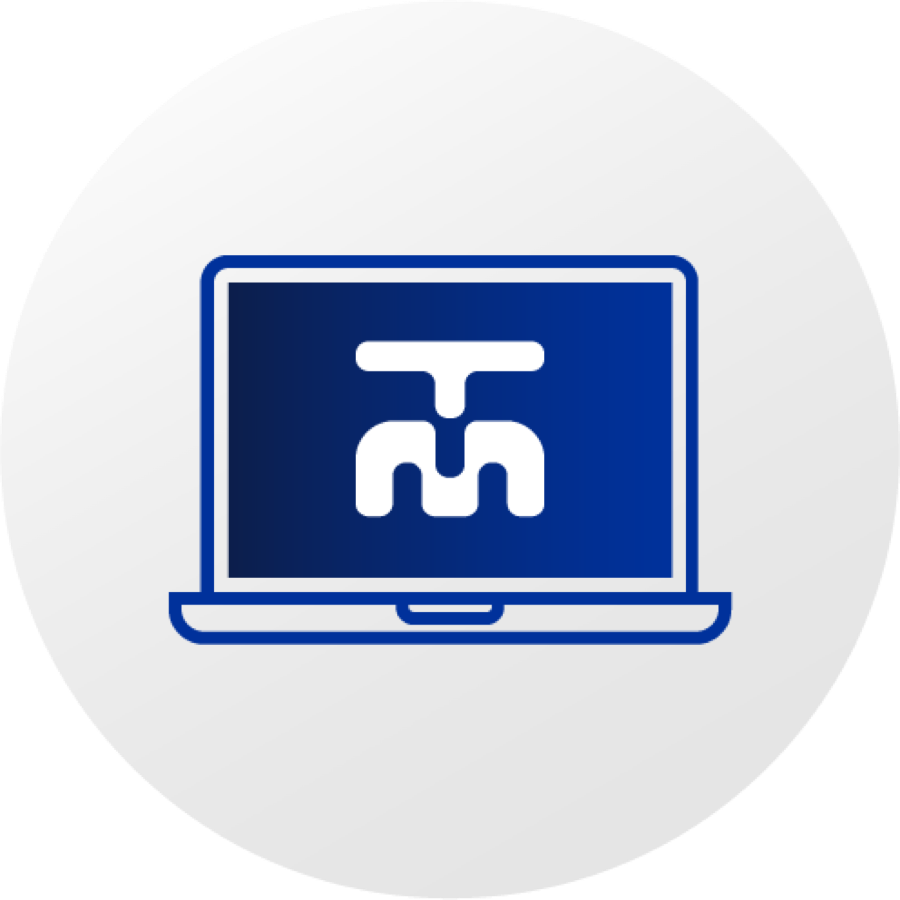
1. Appliance configuration
After selection of your appliance you can configure it in the shop area. If you need a customized design or additional elements, don’t hesitate to contact us.
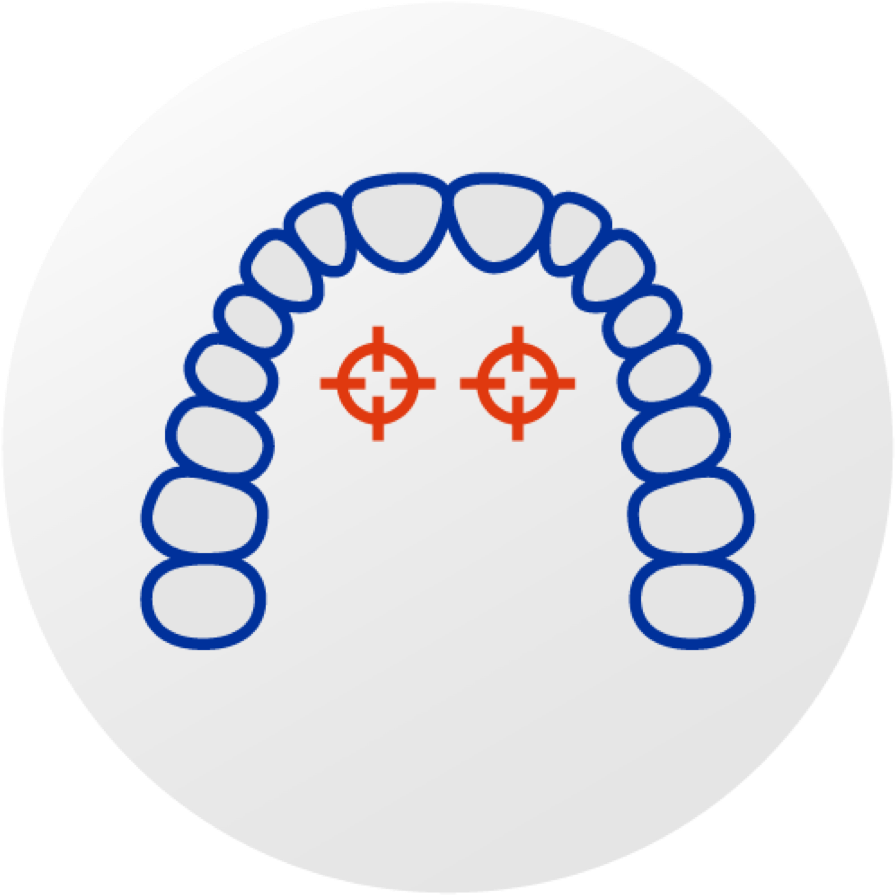
2. Digital implant placement and digital appliance design
Based on your records we plan the ideal position for your BENEfit mini-implants. It’s up to you whether you prefer implant placement based on the model, an additional ceph, or CBCT. Implant placement is verified by experienced certified orthodontists, who have a rich expertise in this field.
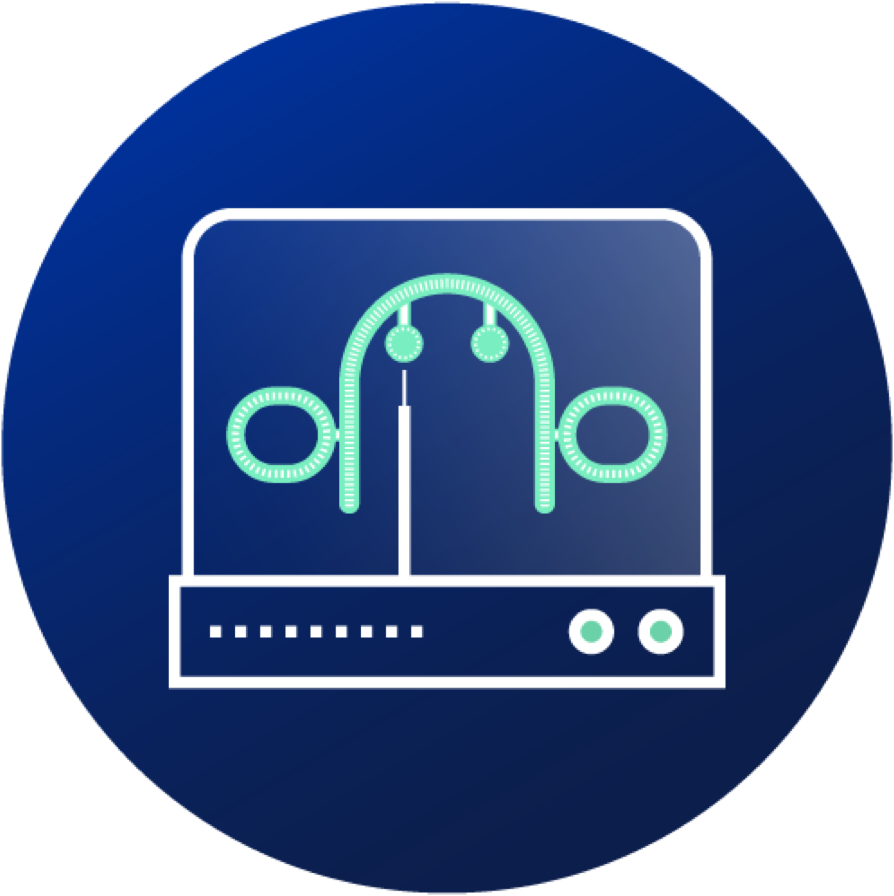
4. Digital appliance design
Based on your preferences we will design a custom made 3D-printed appliance for your patient. For this purpose we use top notch 3D-design software.
3. Appliance design check
Before we start production of the insertion guide and the appliance you will receive a preview of the implant position and the appliance design. If you want changes, we will be happy to modify the design according to your preferences.
After the design has been finalized, your appliance is printed using a high-end 3D-laser printer.
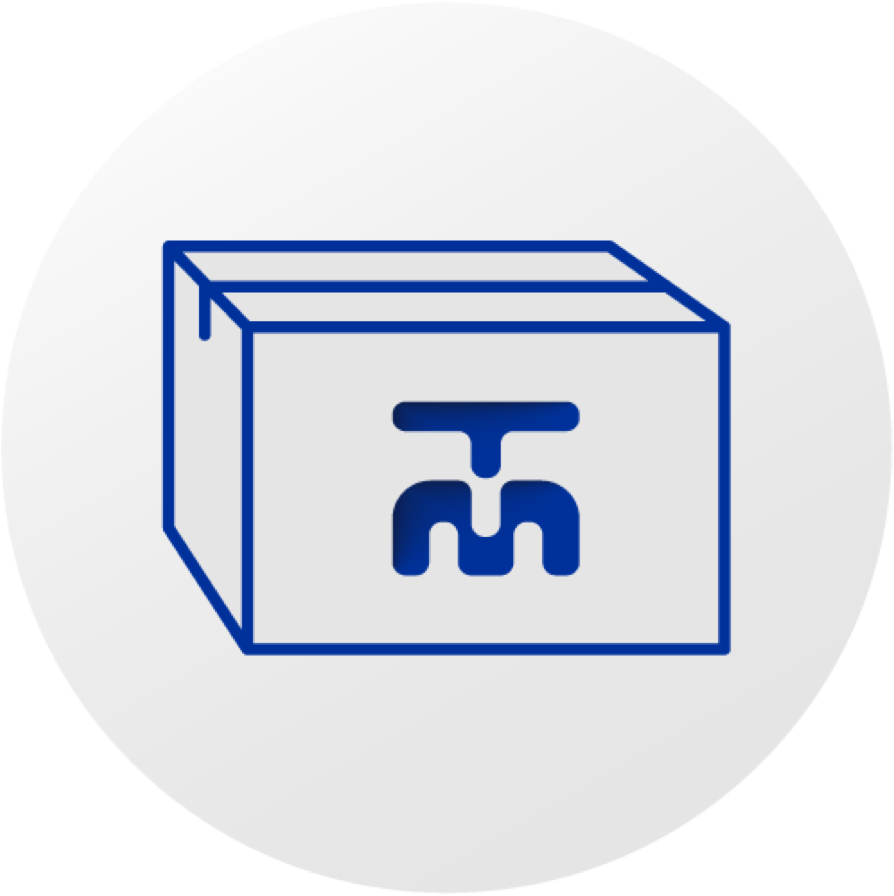
4. Everything you need in the TADMAN box
Receive your TADMAN box with everything you need, including insertion guide, appliance, printed model and the BENEfit mini-implants.
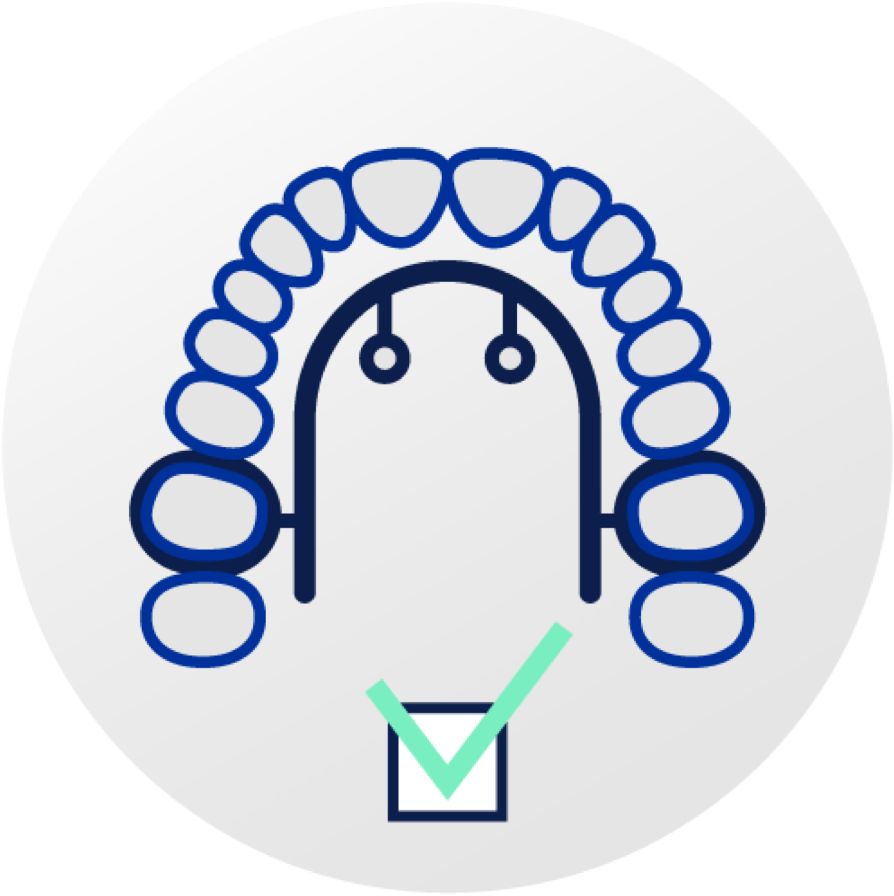
5. Appliance insertion
Insert the mini-implants and the appliance in one appointment. Your patient and you will appreciate less office time.