This page describes the insertion of a TADMAN appliance. As an example, the insertion of a Beneslider is shown. Most steps also apply for the other appliances.
Appliance and instruments
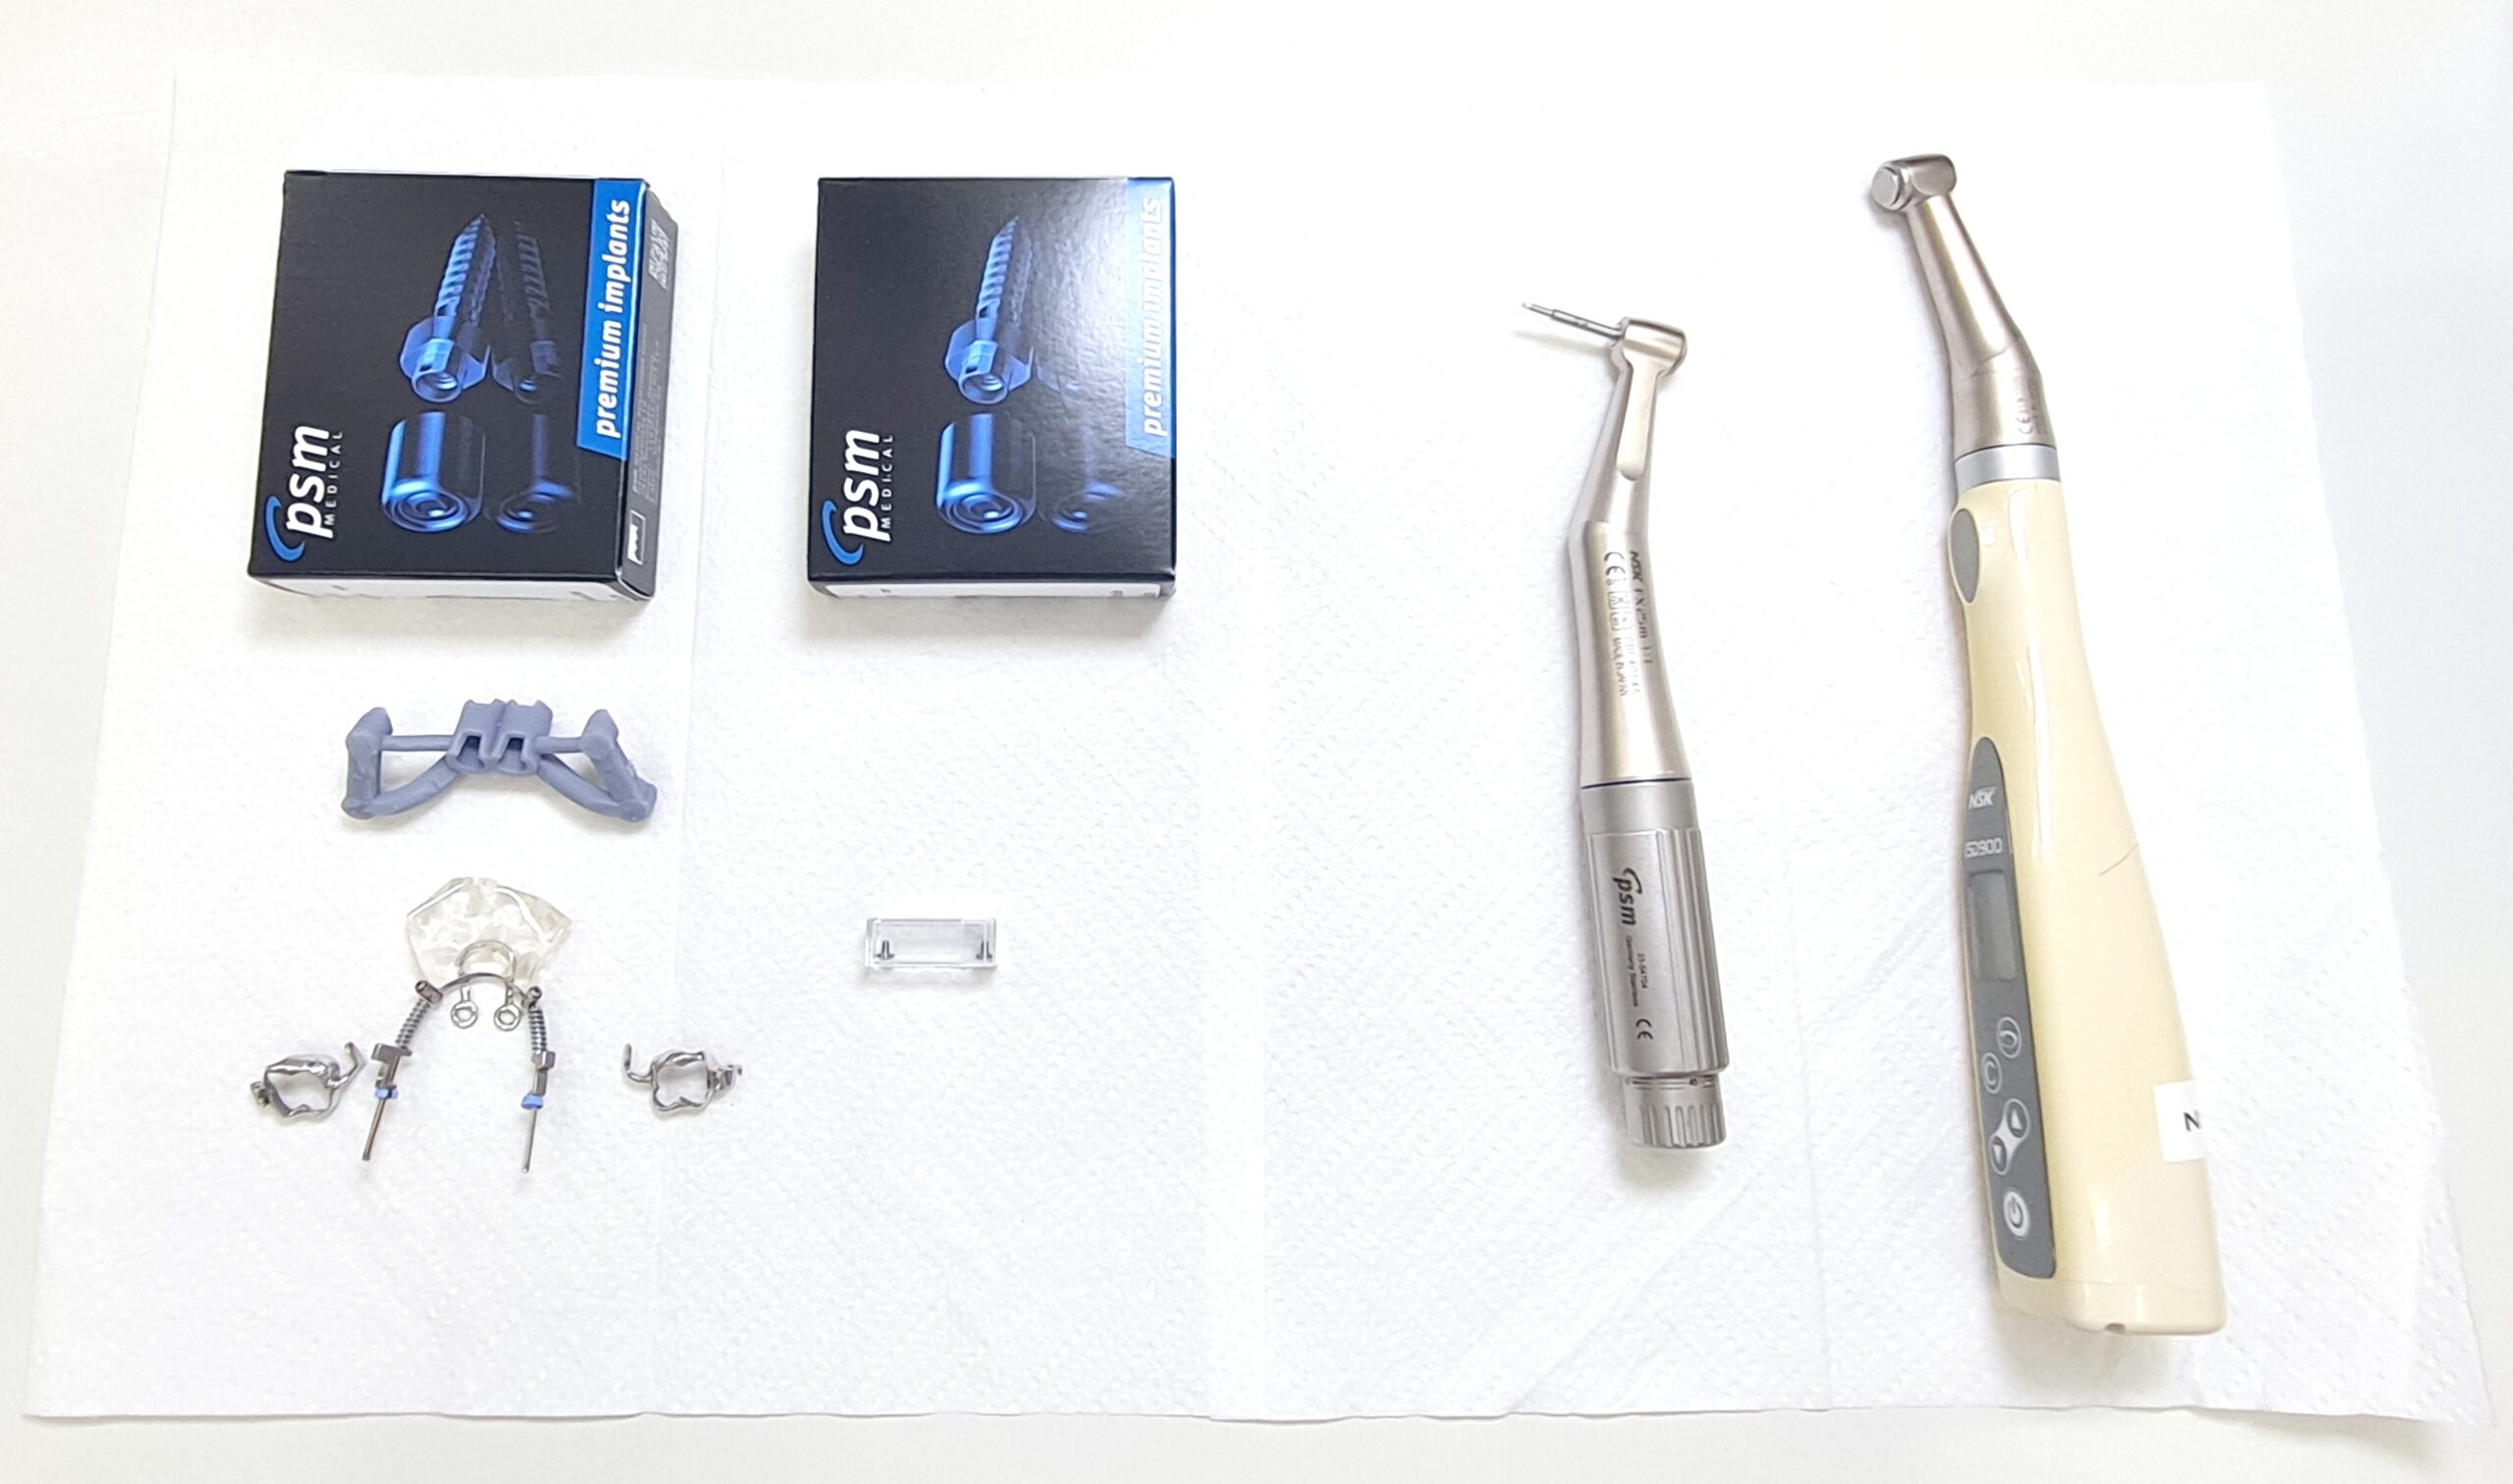
When you order a TADMAN appliance, you get everthing in one box. Of course, you need some instruments such as the Manual Driver for Contra Angle and preferably an electric driver such a the NSK iSD900.
Appliance preparation
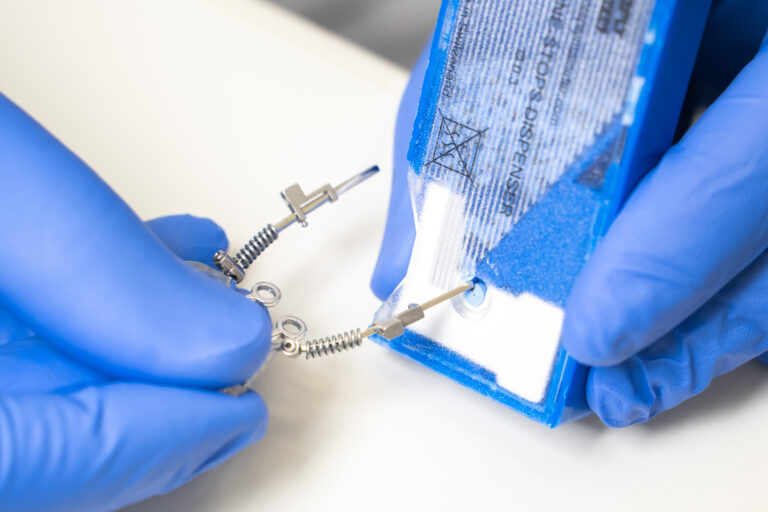
To prevent the triple tubes and coil springs from falling down, slide endo stoppers onto the slider rails.
Alternatively, you can use elastics.
Before you start..
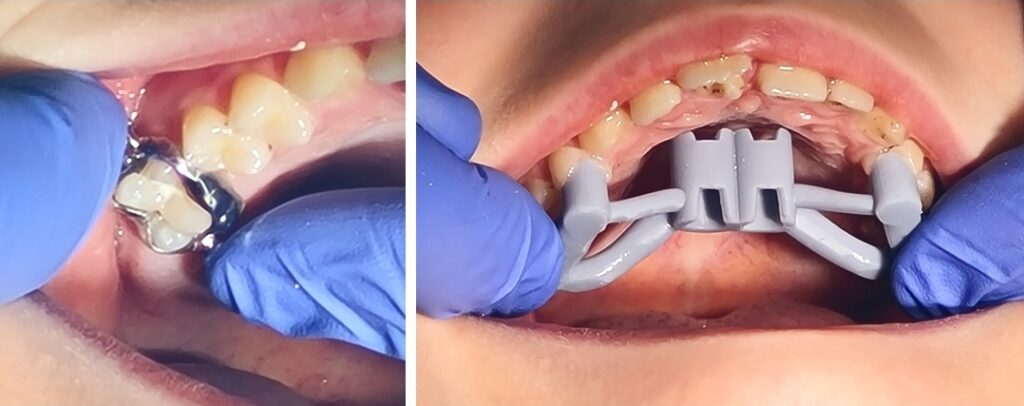
Please check the perfect fit of the shells and the insertion guide.
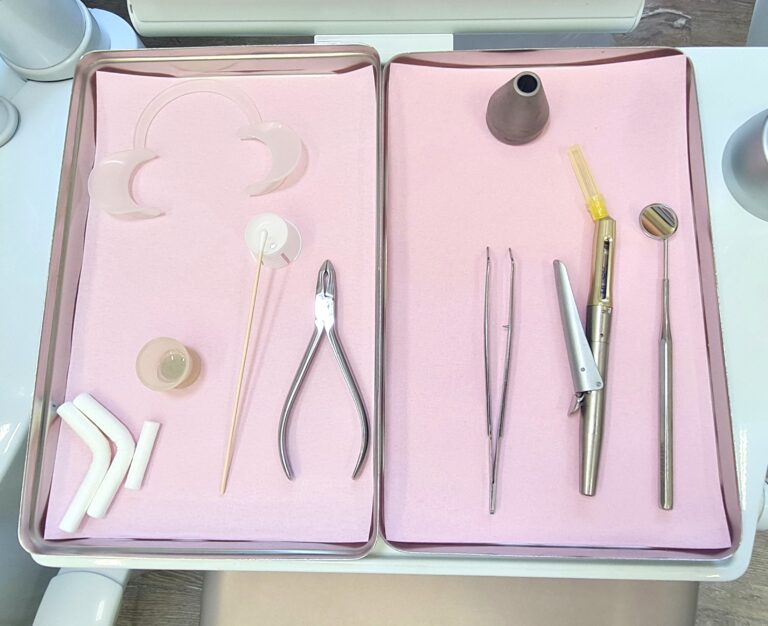
Typical dental tray
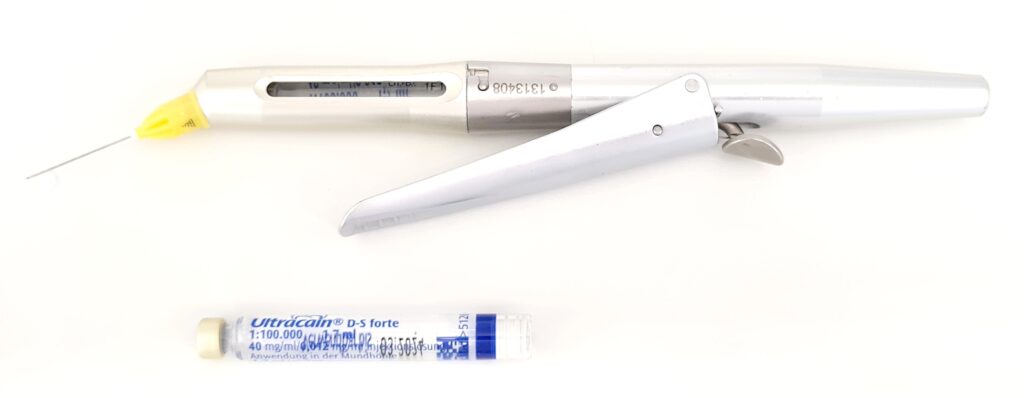
Besides the usual orthodontic materials and instruments the use of a Citojet® syringe is strongly advised.
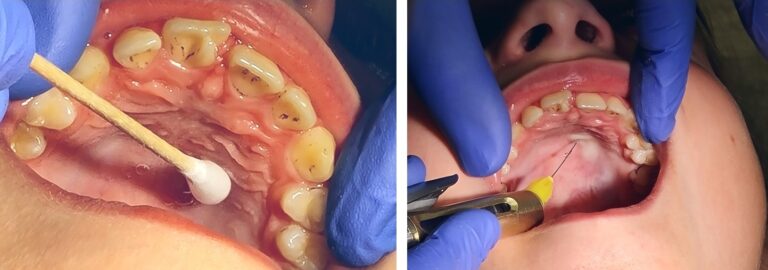
Anesthesia
It’s helpful to do a topic anesthesia first. Using the Citojet, you slowly inject a small portion (0.2 -0.3 ml per side / pump three times) of anesthetic at the paramedian insertion sites. Do it very slowly, because the palatal mucosa is very firm.
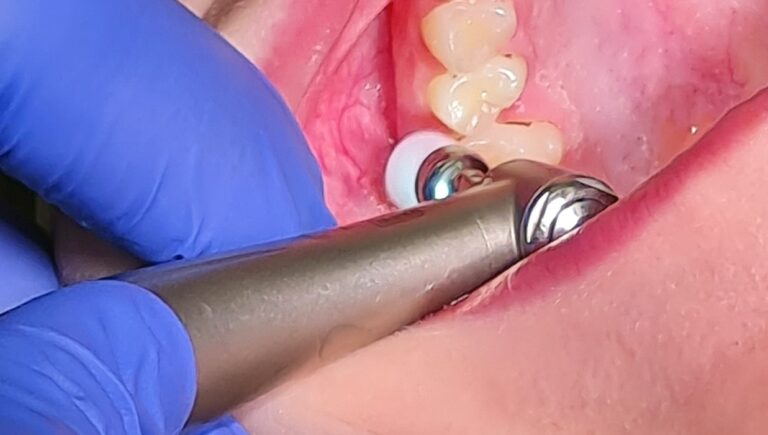
Cleansing the molars
Waiting for the anesthesia to work, it’s a good time for cleansing the molars (and premolars). A pumice and water mix will do a good job.
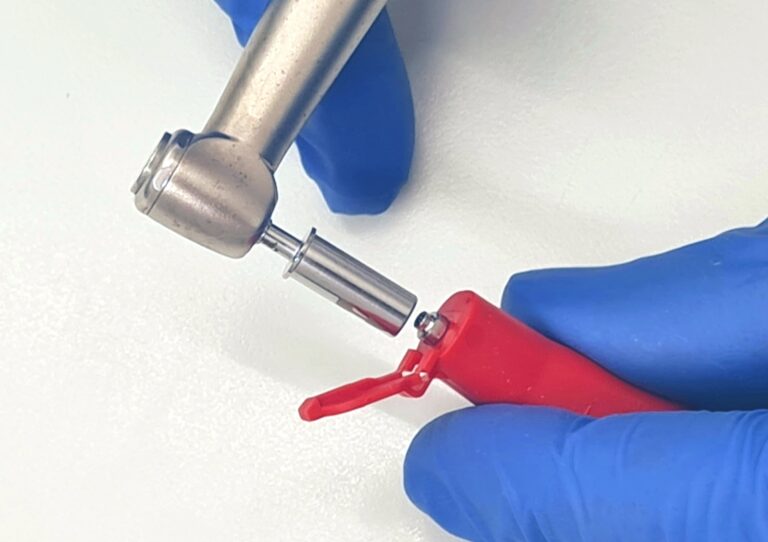
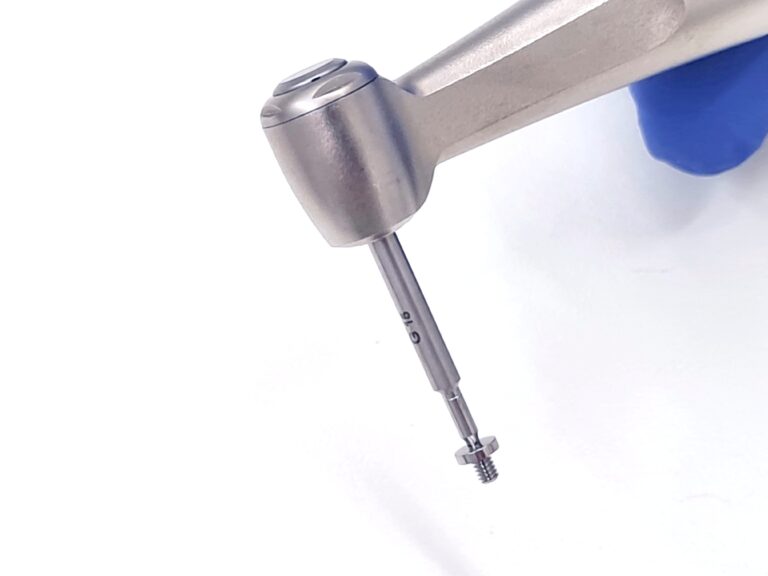
Pick up the implant
Using the TADMAN Screwholder you pick up the Benefit mini-implant from its carrier. Press the instrument tightly on the implant’s head to prevent it from falling down.
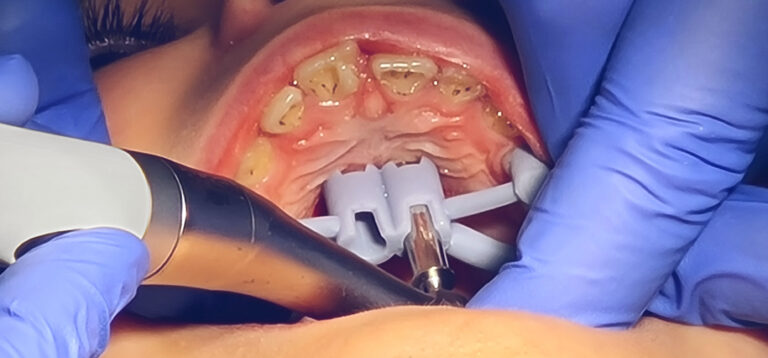
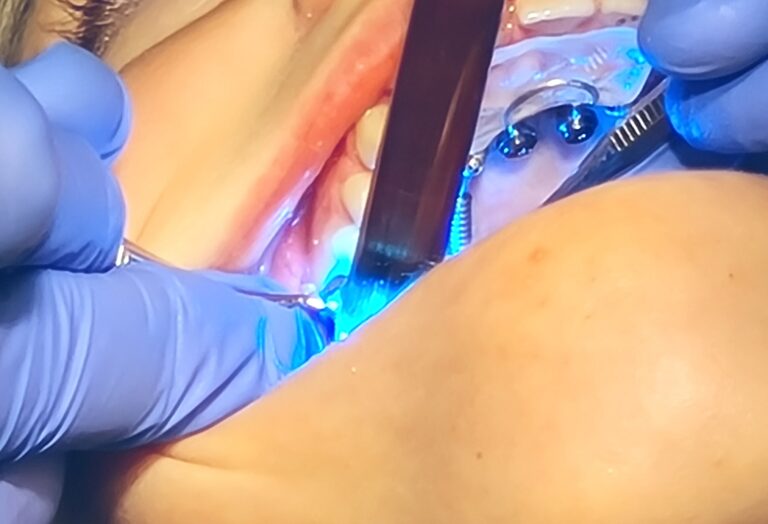
Implant insertion
Get a helping hand to press the insertion guide gently against the teeth. Insert the screwholder in its resprective sleeve and start the driver.
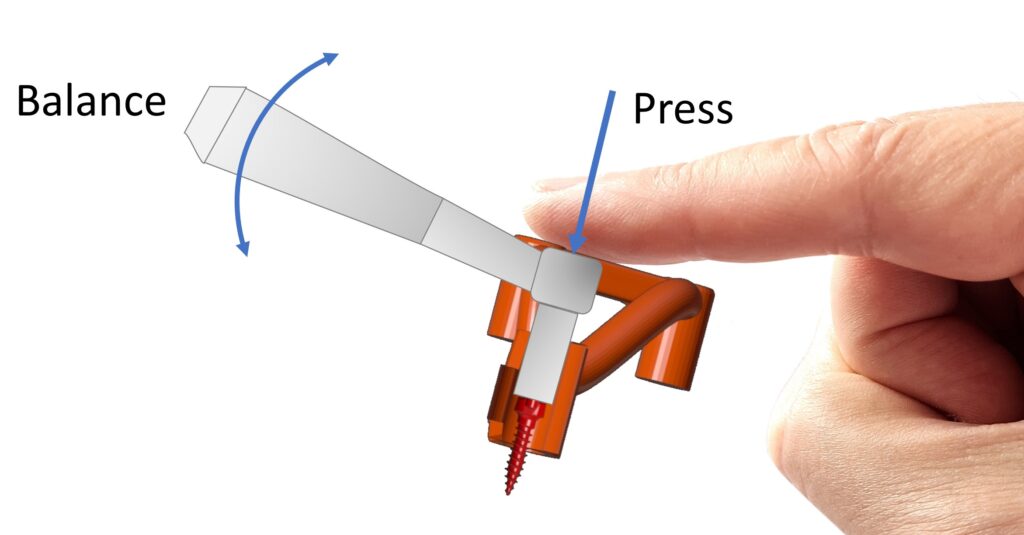
During the insertion, it is essential that you press your finger on the head of the driver while constantly balancing out the screw holder within the guide sleeve with your other hand.
Immediately stop the rotation when the collar of the screw holder justtouches the border of the guide sleeve.
Put the ring abutments of the appliance onto the implant’s heads. Insert the Fixation Screws, but do not pull then tight at this time. This makes it easier the perform the following steps.
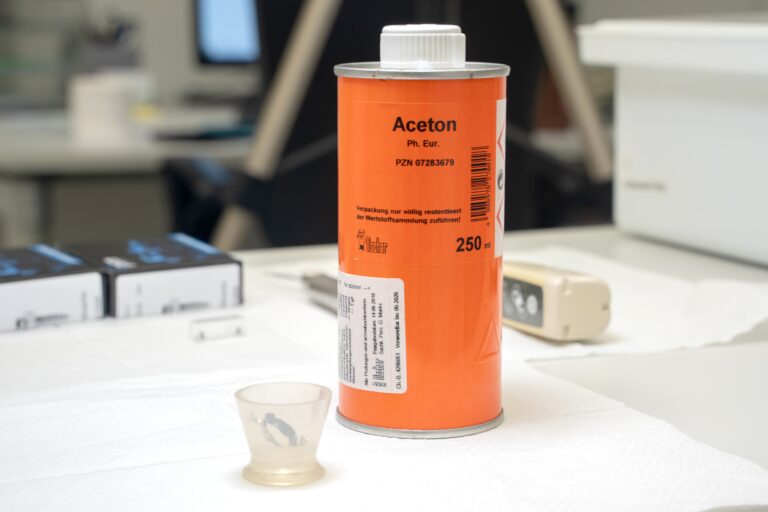
Clean the shells with acetone
To remove any unwanted substances from the sandblasted inner sides of the shells, clean them with acetone.
Molar etching
To bond the shells you can use either a light cure composite resin (e.g. 3M Transbond LR®, or equivalent) or a light cure glasionomer cement (e.g. Ultra Band®, or equivalent). In both cases you have to etch the teeth.
To ease later debonding we recommend to restrict etching to the buccal and palatal smooth surfaces only.
Shell bonding with composite resin
Bonding with a composite resin is strongly recomended for all appliances, where larger forces are transferred to the molars, such as with a TADMAN Hybrid Hyrax.
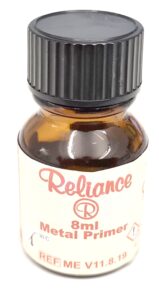
Since the shells are made from metal, it is necessary to apply a metal primer (e.g. Reliance Metal Primer®, or equivalent) to the inner surface of the shells.
Apply the bonding primer and a thin layer of composite to the inner surface of the shells. Of course, the molares are also coated with the bonding primer.the
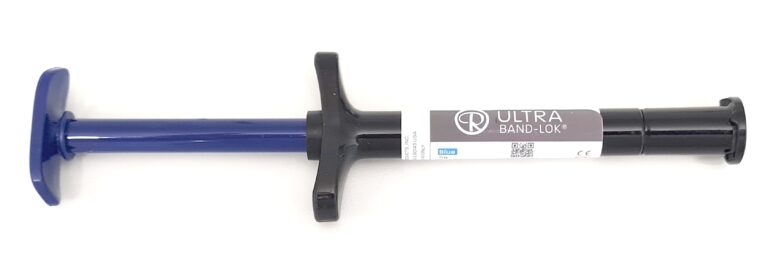
Shell bonding with glasionomer cement
Alternatively, you can also use a light curing glasionomer cement for bonding, which is recommended for all types of sliders and transpalatal bars. In this case, no primers are needed.
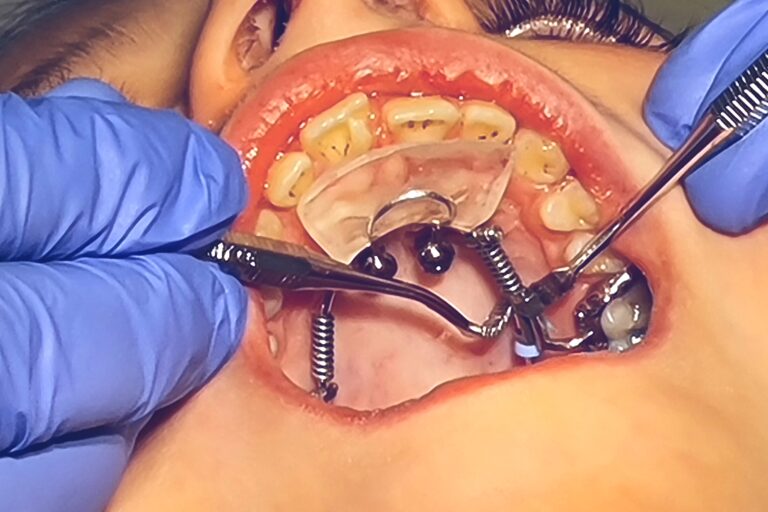
Bond the shells
Press the shell firmly on the respective tooth and remove any excess material immediately. Two orthodontic scalers are extremely helpful to hold the shell in place while a helping hand removes excess material und light cures the bonding material.
Engage the Versalock
Just move the Triple Tube along the rail until it slides onto the little prong of the molar shell.
No to forget, now it’s the time to finally tighten the Fixation Screws.
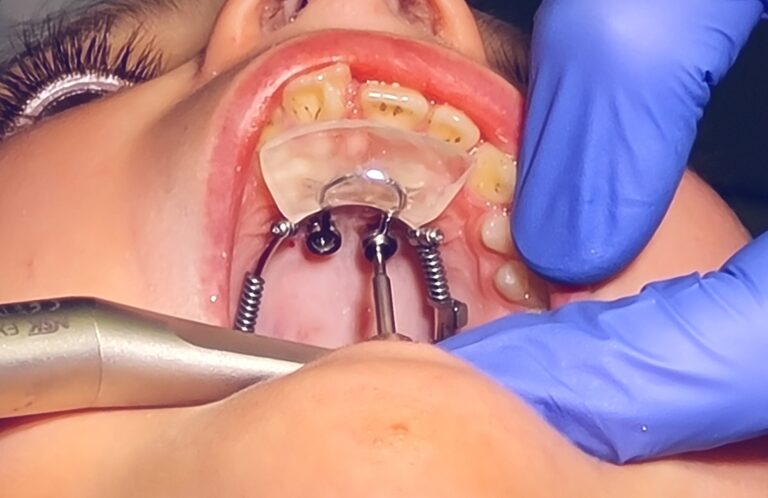
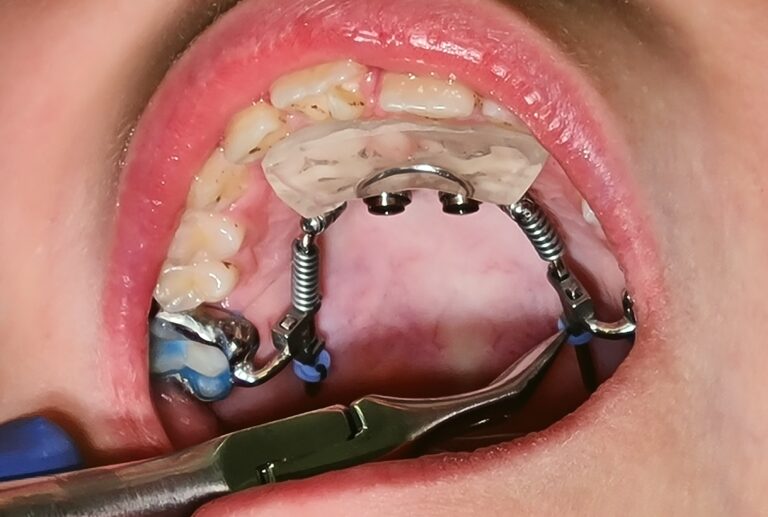
Endo stopper removal and activation
Now as everything is fitted, you can remove the endo stoppers.
To perform the first activation you unlock the mobilizers and move them distally, until the coil springs are compressed by approximately 50%. This prevents implant overloading during the healing period.
Schedule the next appointments every 6 weeks for re-activation by full compression the coil springs.
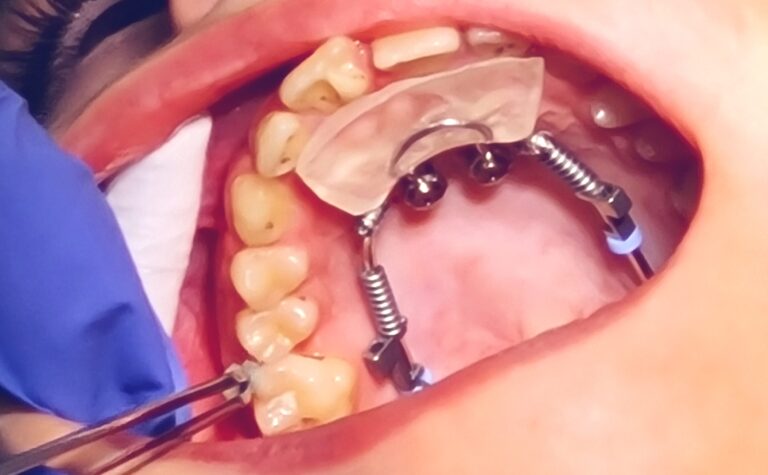
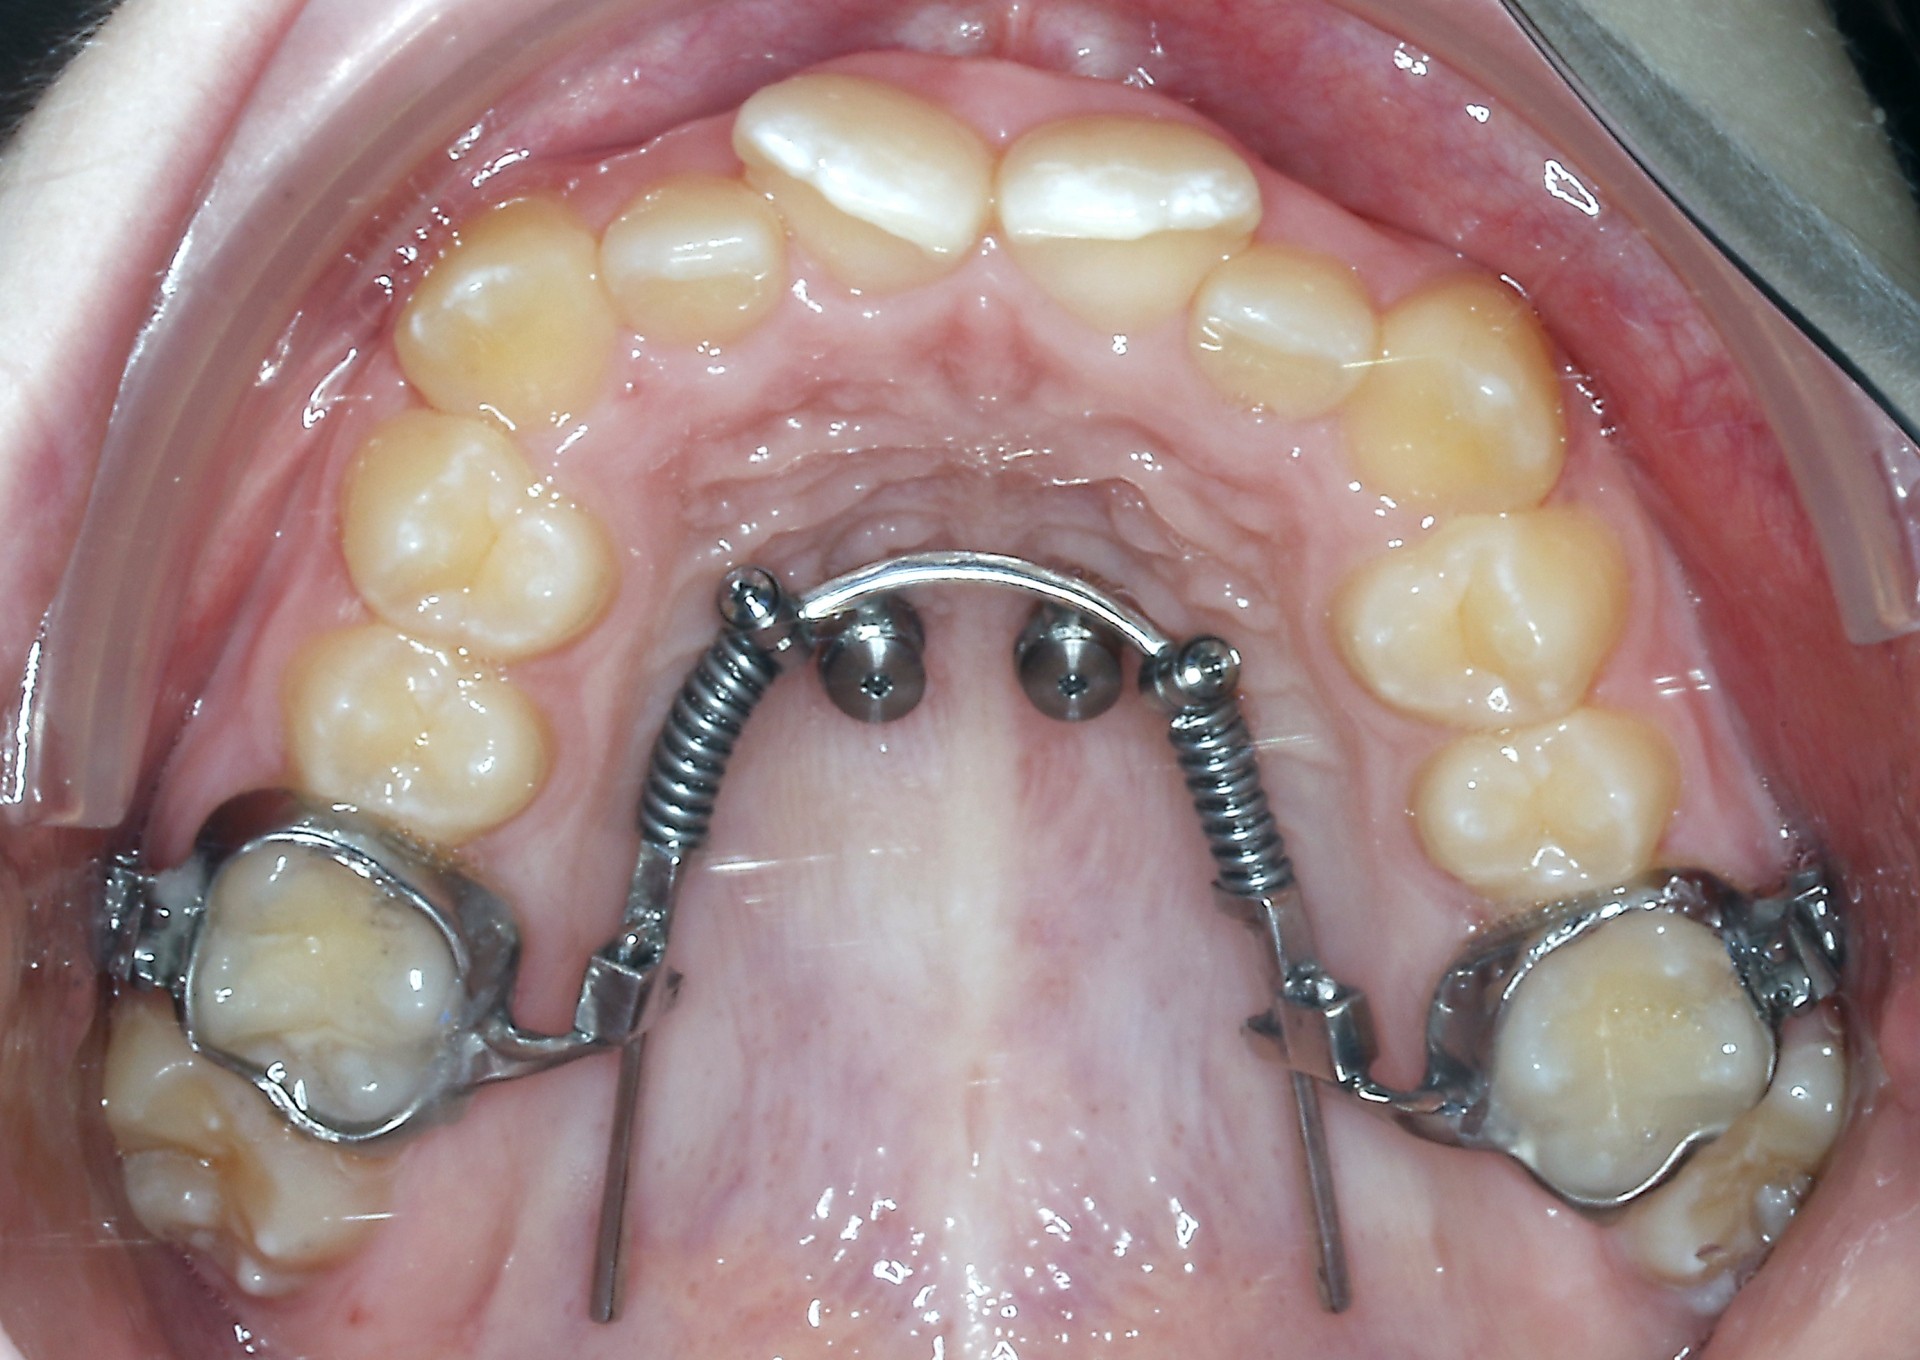
Intraoral view
Nearly invisible molar distalization. Inserted in just one appointment using the TADMAN guide. Your patients will appreciate it.
In almost all cases brackets are not needed until you have gained enough space by distalization.
Instead of using brackets you may also combine the Beneslider with clear aligners.